

Content
- 1 What an Aseptic Sampling System Must Actually Deliver
- 2 Where Aseptic Sampling Goes Wrong
- 3 Comparing the Main Sampling Interfaces
- 4 Sampling Powders and Single-Use Containers
- 5 Designing the Sampling Point Into the Process
- 6 Validation, Documentation and Operator Confidence
- 7 Choosing an Interface You Can Live With
Sampling is the moment when a clean, closed process has to be opened just enough to prove itself. In aseptic manufacturing that moment is charged with risk: a sample that is not representative is misleading, and a sample taken clumsily can contaminate the batch it was meant to verify. An aseptic sampling system is therefore not a single fitting on a pipe; it is a small, complete process consisting of a sterile boundary, a transfer interface, a container and a set of operator actions that must work in agreement.
The practical question is rarely "which sampling valve is best." It is "where in my process does the sample leave the sterile envelope, and what exactly happens to that boundary during the twenty seconds the transfer is open." This article looks at how aseptic sampling systems are put together, where they tend to fail, and how to specify one that your operators can actually run reproducibly.
What an Aseptic Sampling System Must Actually Deliver
Before comparing hardware, it helps to be explicit about the job. A well-designed sampling point satisfies four requirements at once, and compromising on any one of them undermines the other three.
- Representativeness. The sample must reflect the bulk material at the moment of sampling, not the material that happened to sit in a dead leg for an hour.
- Sterility of the batch. Nothing from the environment, the sampling device or the operator may enter the product path.
- Containment of the product. For potent or hazardous compounds, the barrier has to work in both directions, protecting the operator as well as the batch.
- Traceability. Every sample should be linkable to a batch, a time, a sampling point and an operator without reconstruction from memory afterwards.
Systems that fail in practice usually satisfy three of these and quietly neglect the fourth. Dead legs and non-representative samples are the most common compromise; operator variability runs a close second.
Where Aseptic Sampling Goes Wrong
Most contamination events and most invalid samples trace back to a small number of recurring design and practice issues.
Dead legs and poor flush paths
A sampling branch that sits off the main line without adequate flow becomes a stagnant pocket. The sample may be sterile and still be wrong. Short, fully drainable branch geometry and sampling after a defined flush volume solve most of this, but the geometry has to be designed in, not retrofitted.
Interfaces that rely on operator judgement
Any step described as "spray until it looks wet" or "open carefully" will be performed differently by every shift. Disconnecting a sampling container under a laminar flow hood is a classic example: the technique is only as good as the person performing it at the end of a long shift.
Non-representative container handling
Sampling the headspace, sampling before a mixing step is complete, or drawing from a line that has not been flushed all produce scientifically valid-looking data from the wrong material. These are procedure problems, not equipment problems, but they are far more frequent than hardware failures.
Cleaning and sterilisation blind spots
The internal surfaces of a sampling valve are small, complex and easy to under-clean. If the device cannot be cleaned in place or sterilised in place with the rest of the line, it becomes a permanent exception in your cleaning validation.
Comparing the Main Sampling Interfaces
The table below summarises how the commonly used sampling interfaces behave in aseptic service. It is a starting point for specification discussions rather than a ranking.
| Interface type | Sterile boundary maintained by | Typical best fit | Main limitation |
|---|---|---|---|
| Septum and syringe port | Closed septum, disinfection before puncture | Small-volume liquid samples, laboratory-scale work | Repeated punctures; limited to small volumes |
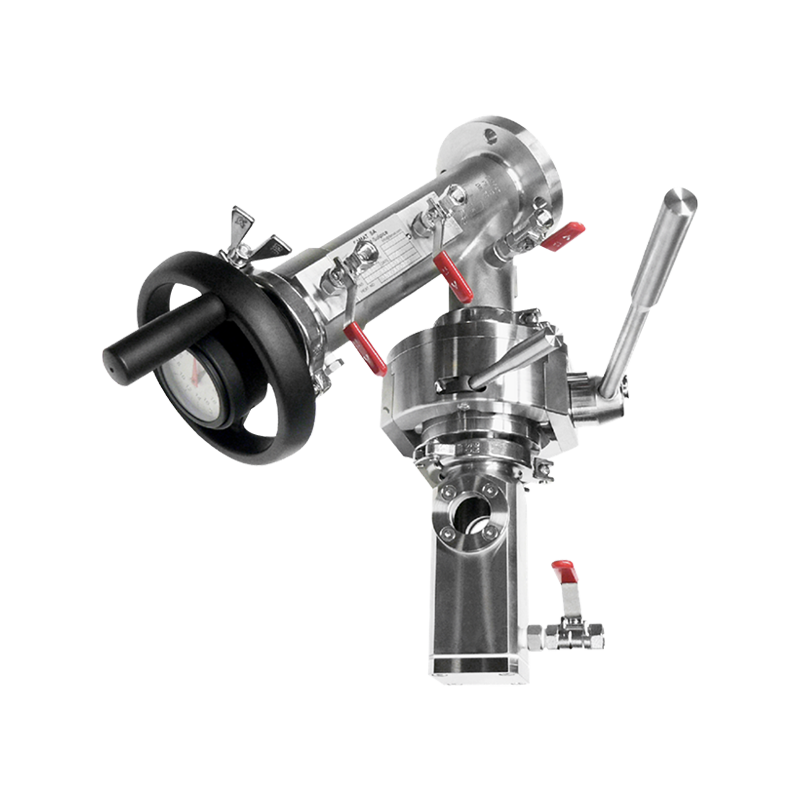
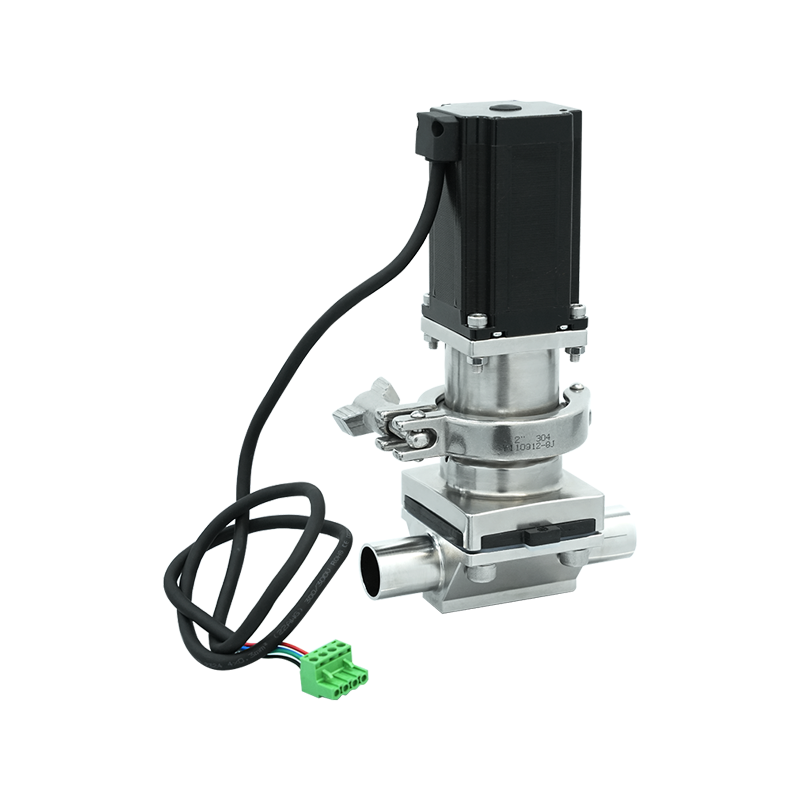
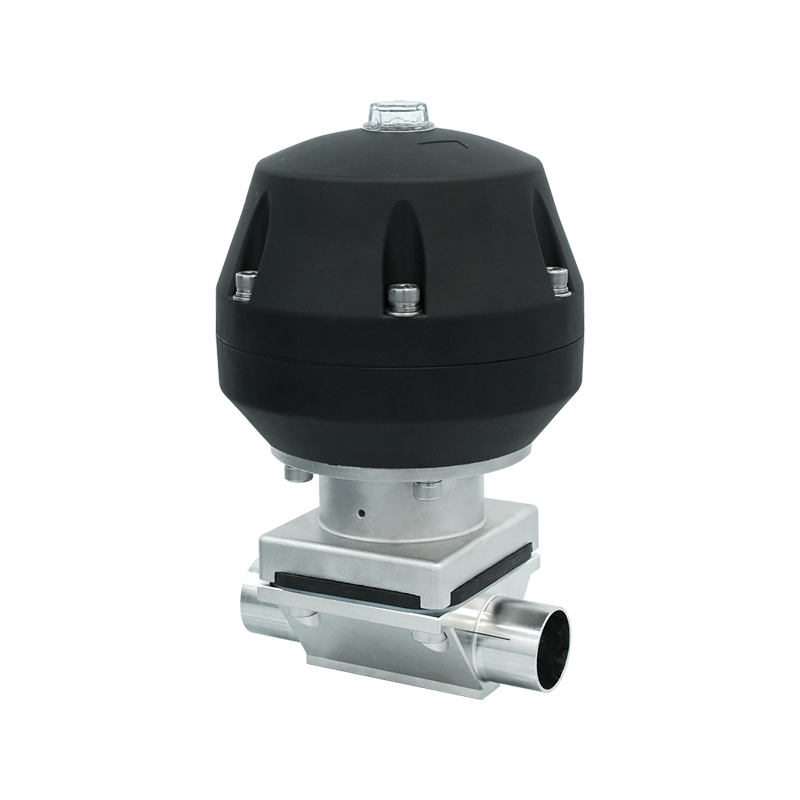
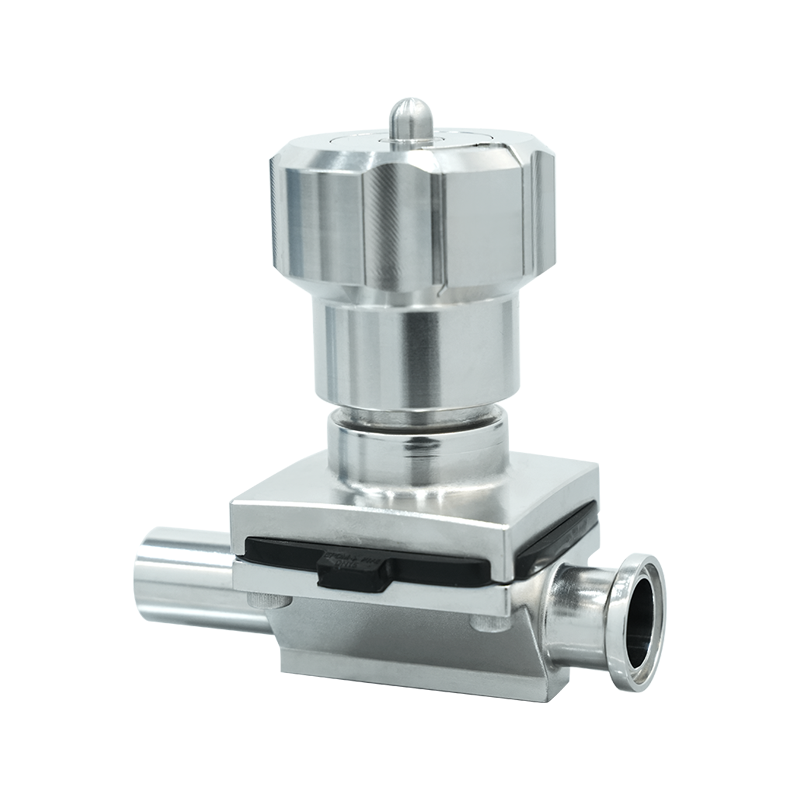
| Sampling valve on a diaphragm valve body | Sterile valve seat and steam or CIP/SIP path | Liquid process lines, buffer and media sampling | Dead-leg control depends on branch geometry |
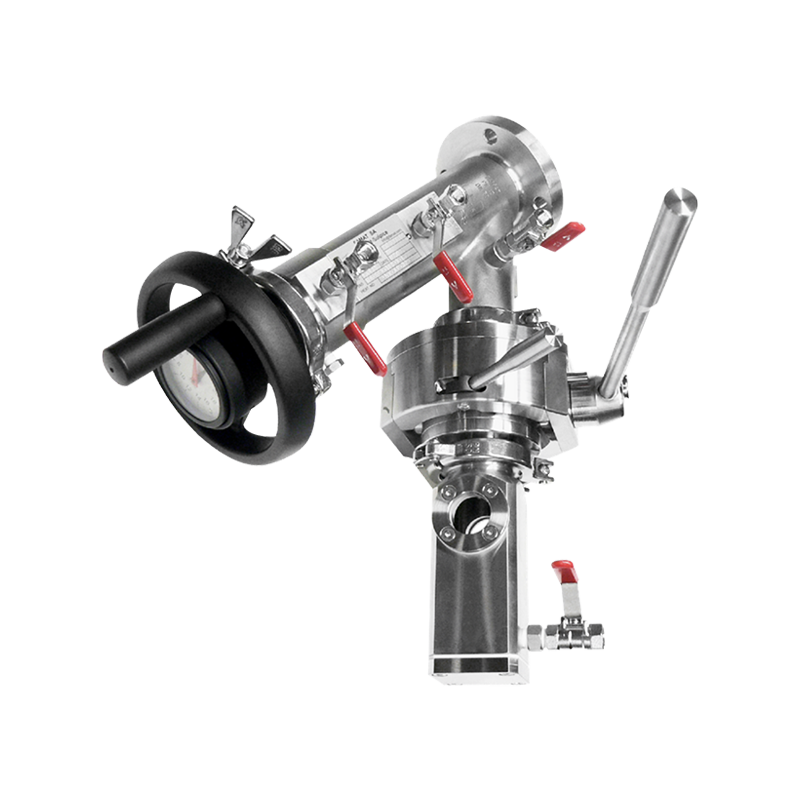
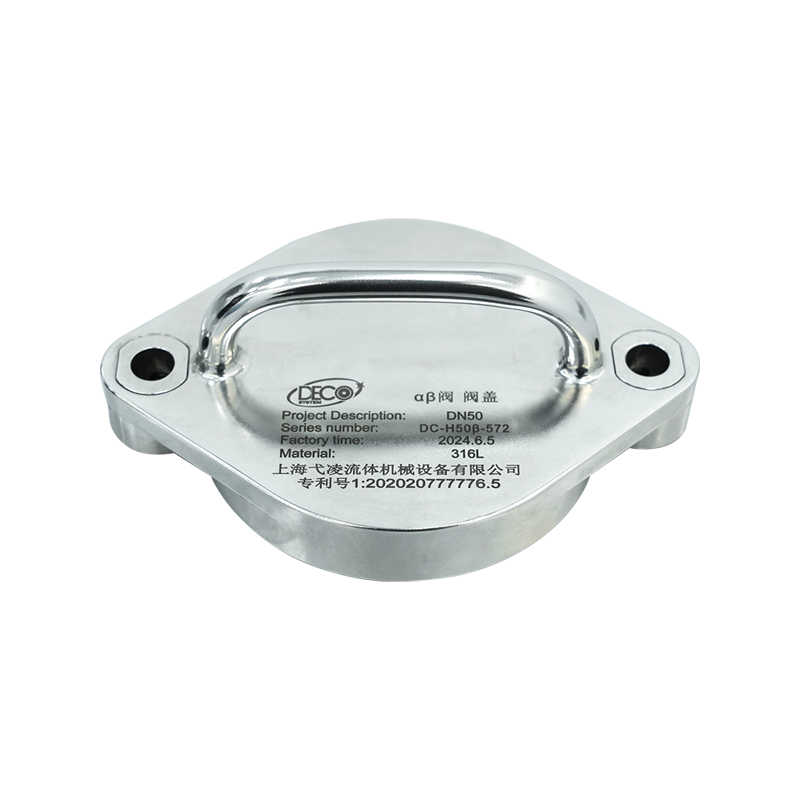
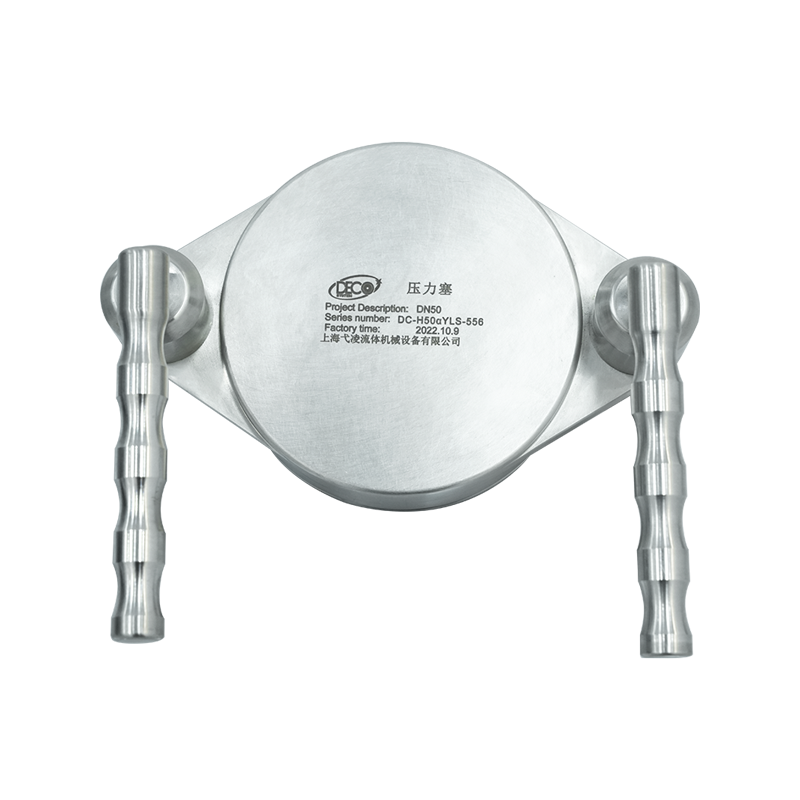
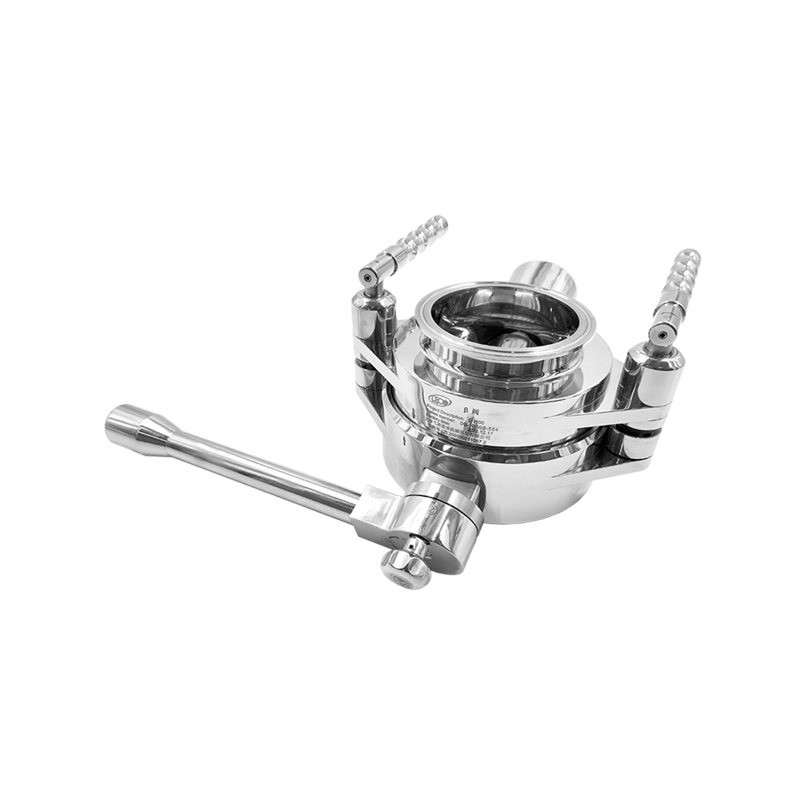
| Sealed sampling valve within a split butterfly valve system | Alpha and Beta halves with protective covers | Powder and liquid transfer points, contained sampling | Requires disciplined handling of the Beta side |
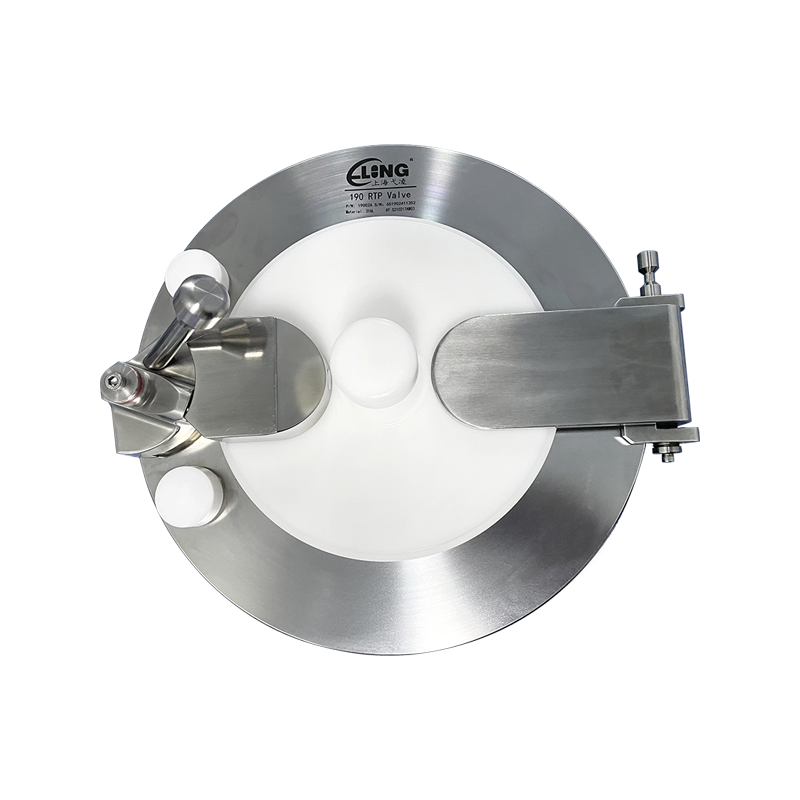
| RTP-based sampling port | Rapid transfer port with a Beta bag or container | Isolators, gloveboxes, wall-mounted transfer | Larger footprint; more operator steps |
| Single-use sampling bag or bottle | Pre-sterilised, single-use fluid path | Single-use and hybrid processes | Consumable cost and supply logistics |
Sampling Powders and Single-Use Containers
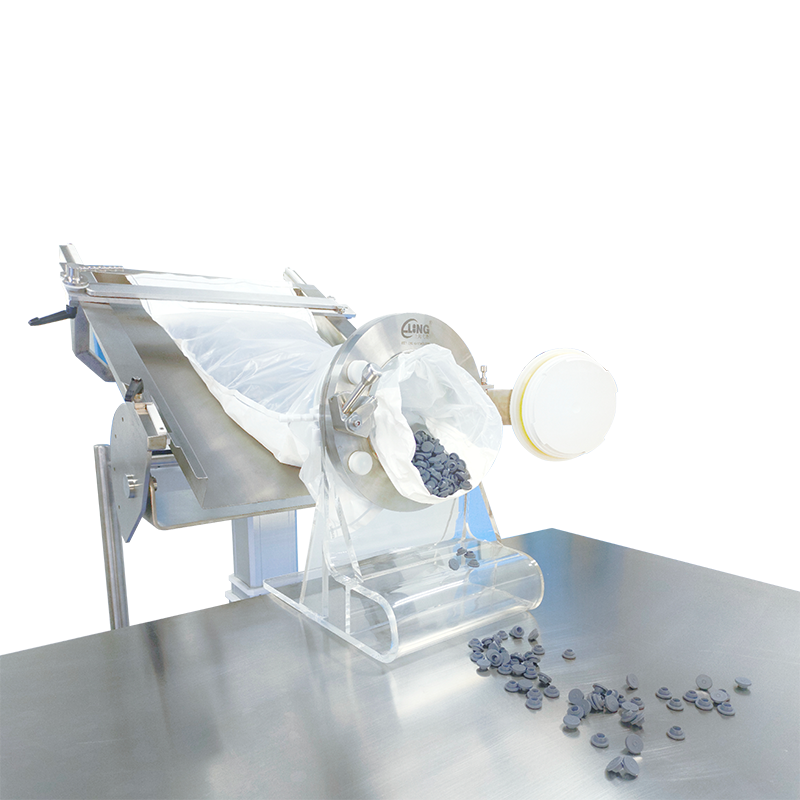
Powder sampling behaves differently from liquid sampling. There is no line to flush and no flow to prove, so representativeness depends almost entirely on how the material was mixed and how the sampler penetrates the bed. In aseptic powder handling, the sampling interface is usually also a transfer interface, which is why the sampling valve and the transfer device are so often the same piece of hardware.
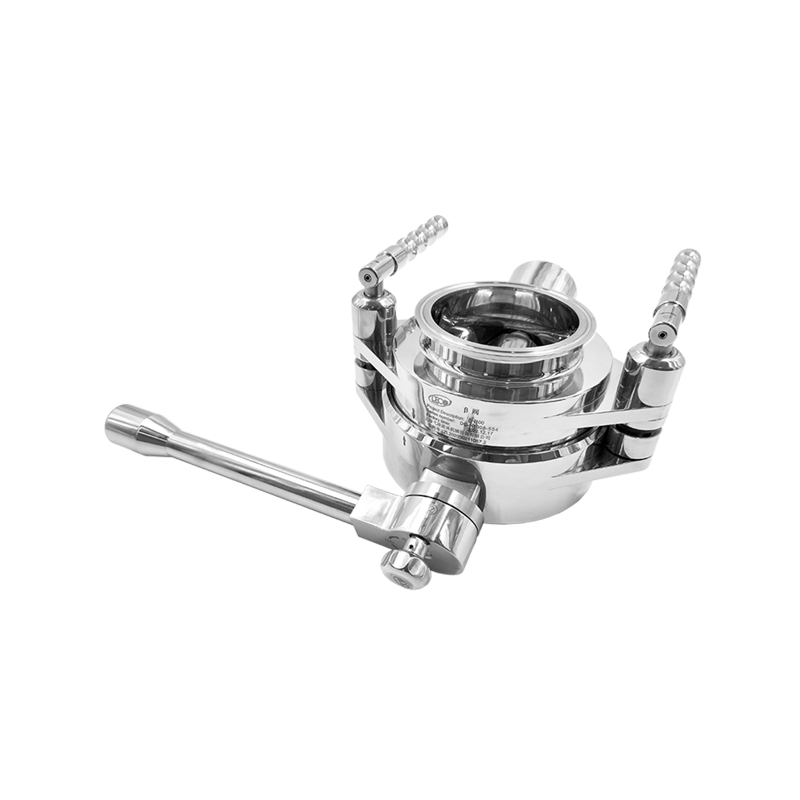
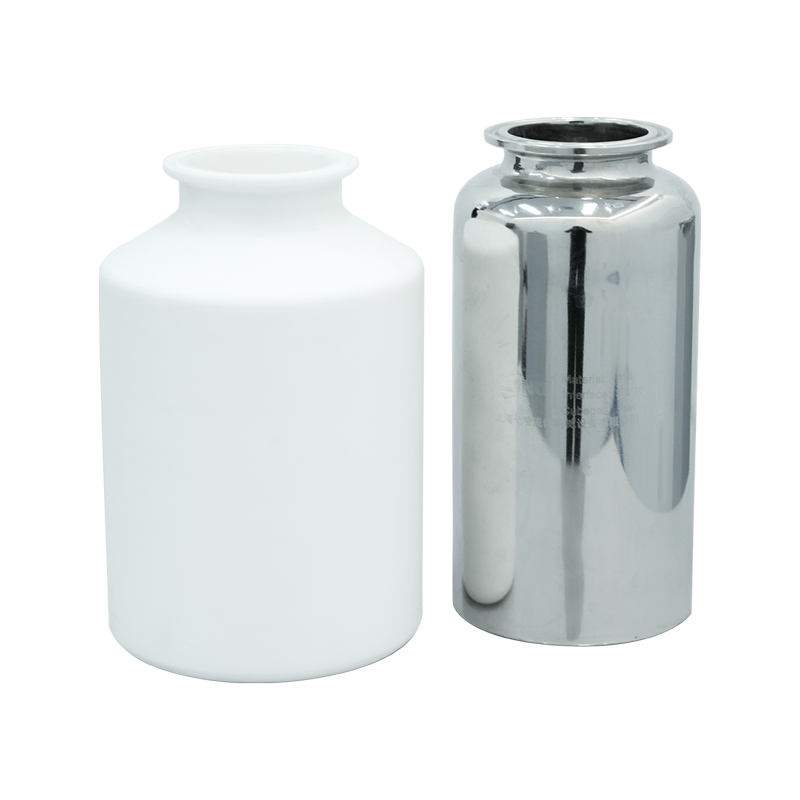
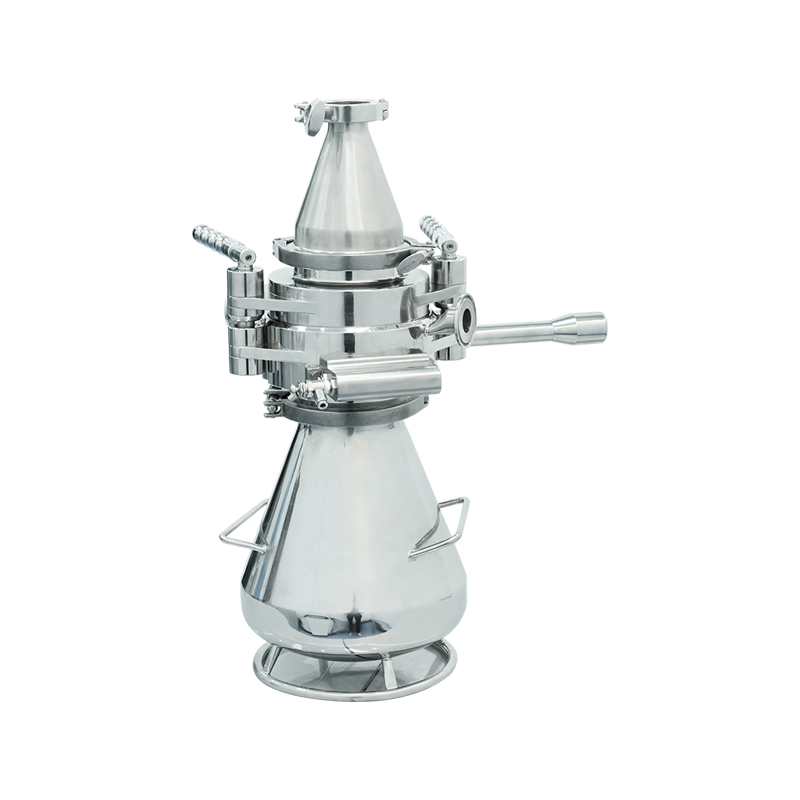
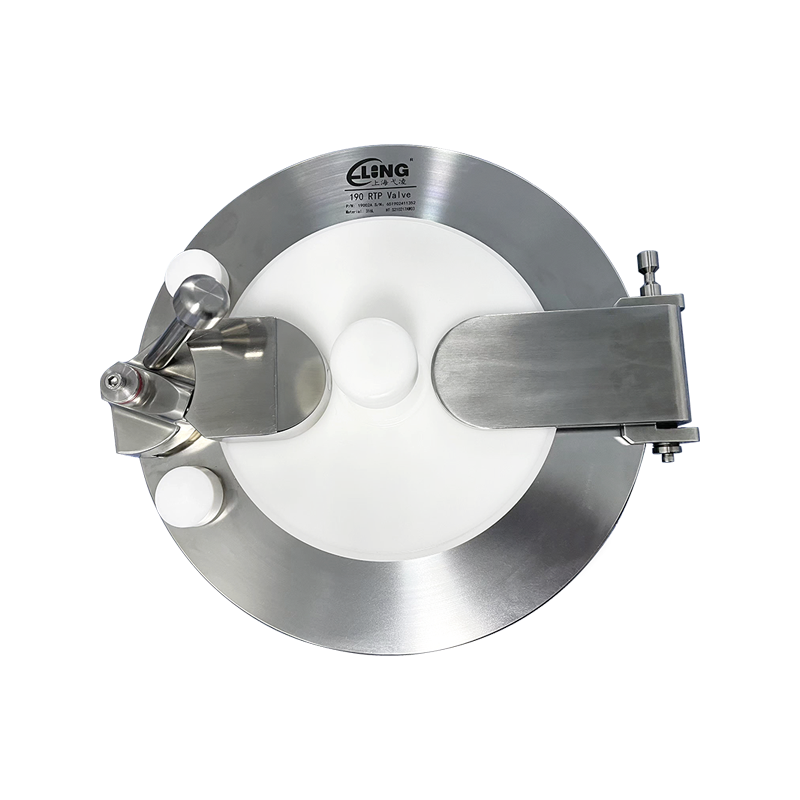
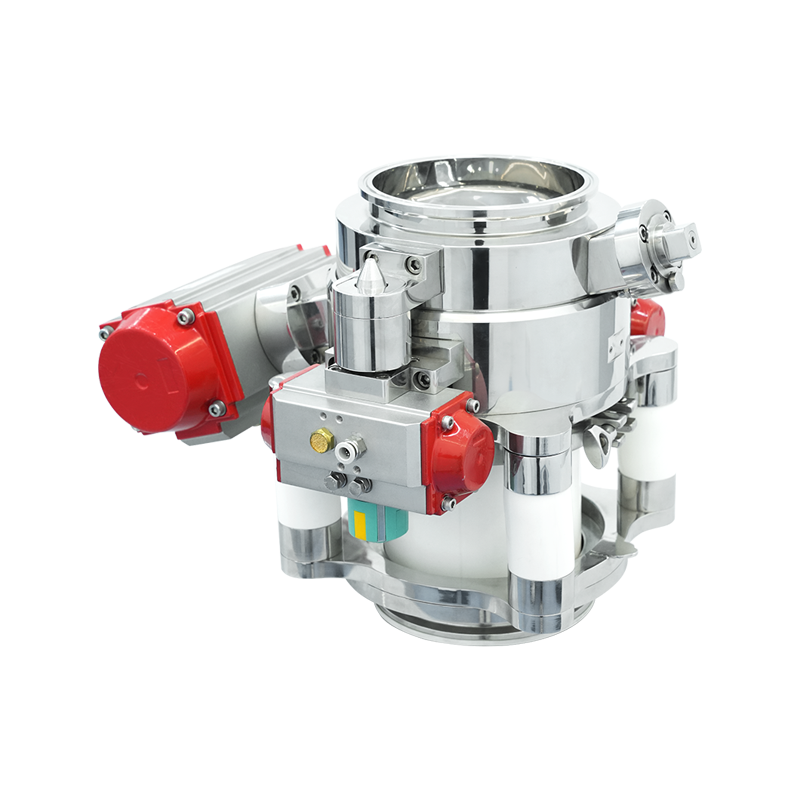
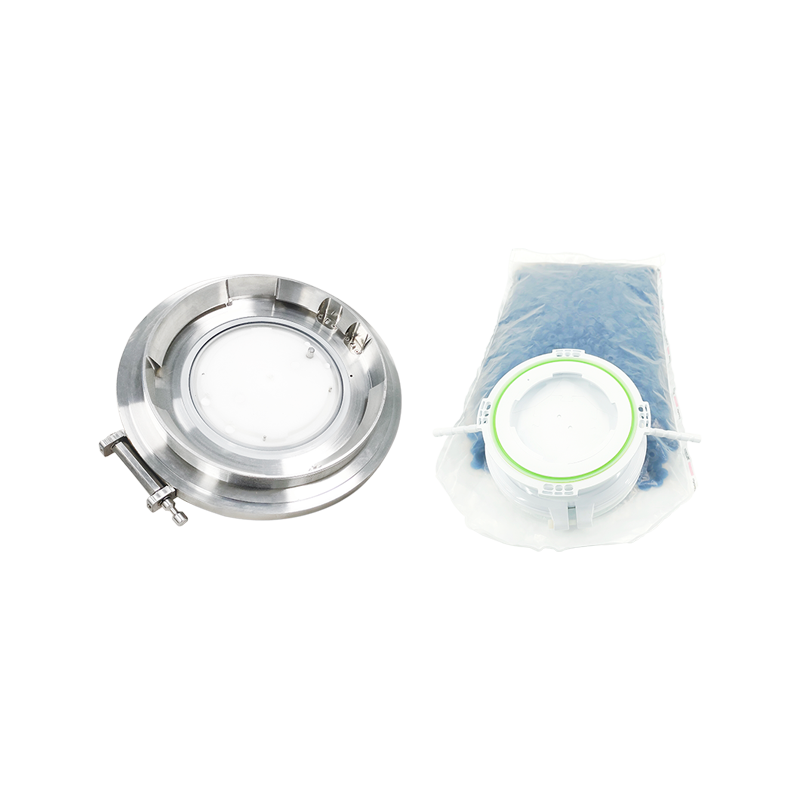
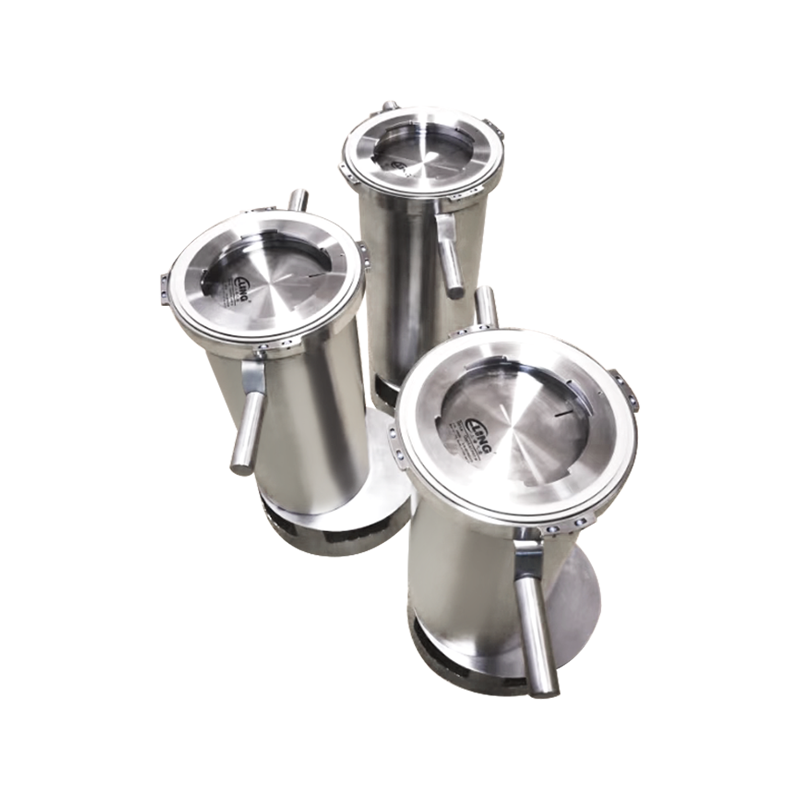
This is where the split butterfly valve family earns its place. A sealed sampling valve integrated into the Alpha and Beta structure lets a sample container be docked, opened and closed against a protected face, so the sterile boundary is re-established before the halves separate. The same principle governs rapid transfer port systems, where a Beta bag or Beta sterilisation container carries the sample out through a wall-mounted port without breaking the isolator's atmosphere.
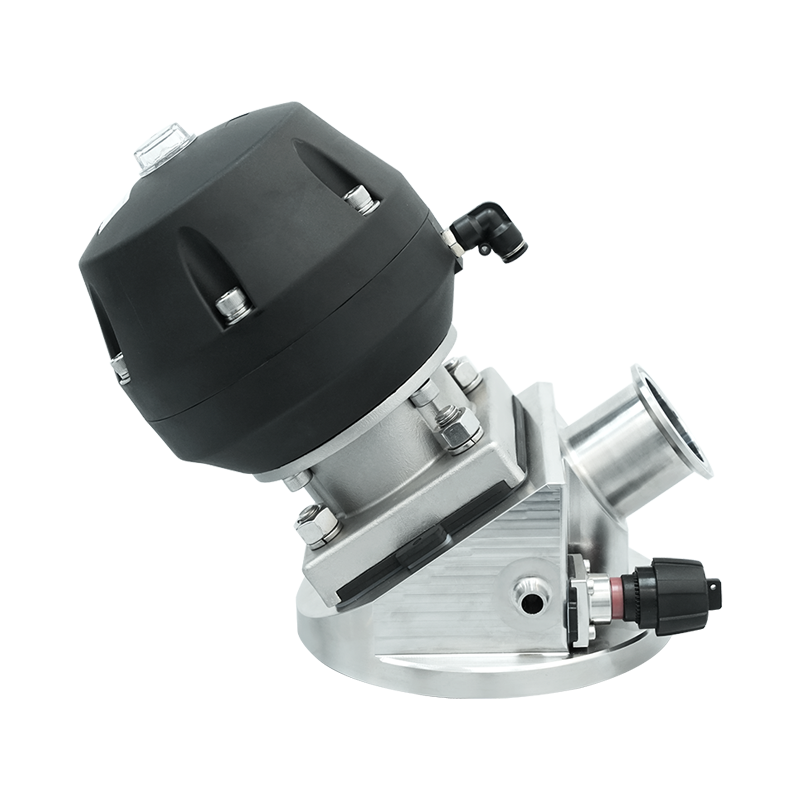
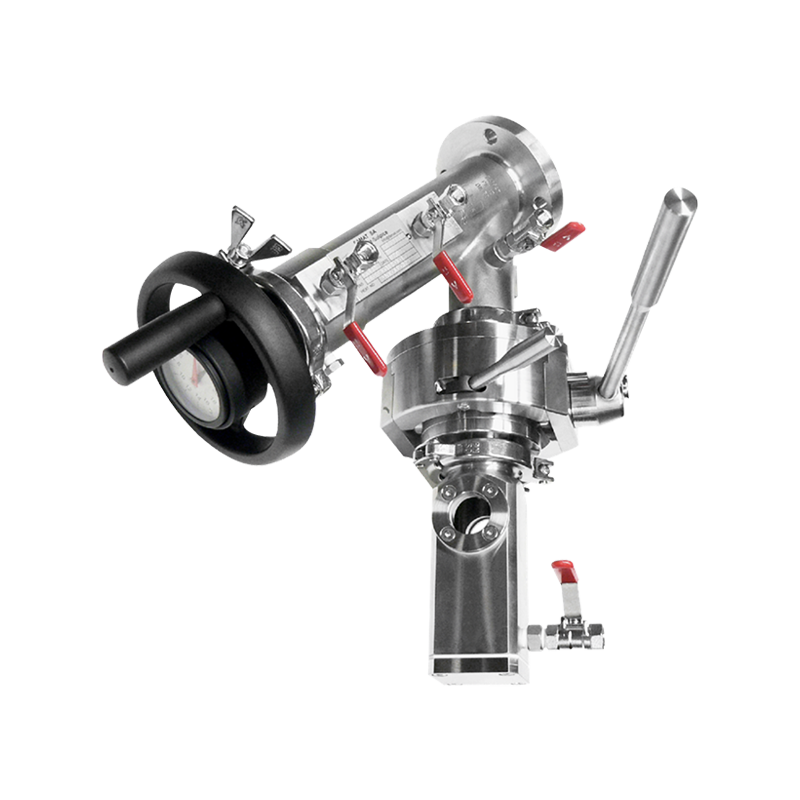 Sealed Sampling Valve for Split Butterfly Valve SystemsIntegrates sealed sampling into Alpha/Beta valve structures, helping maintain the sterile boundary during high-containment sampling before separation.View Product →
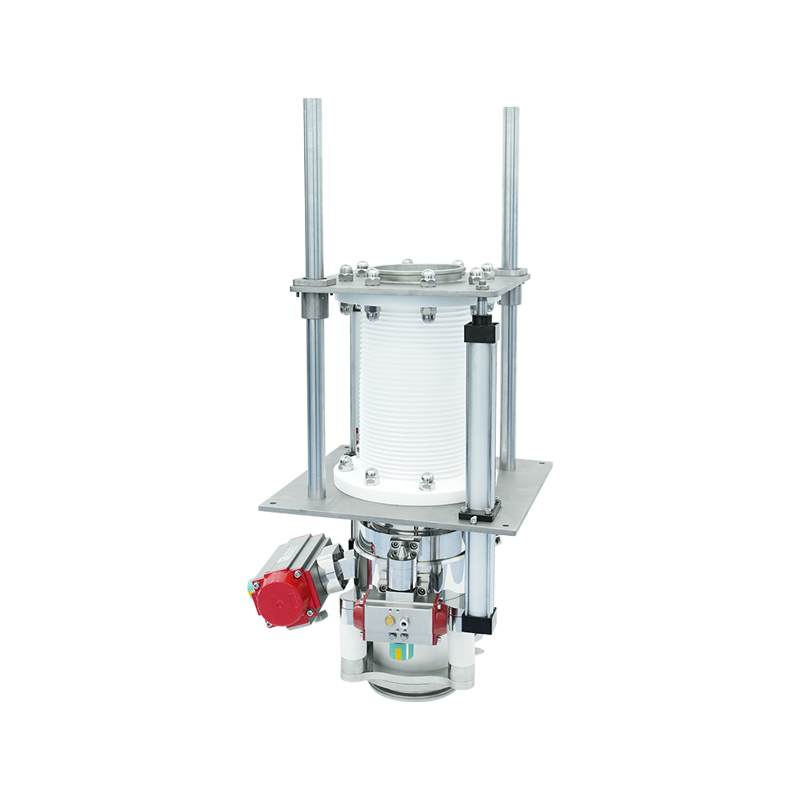
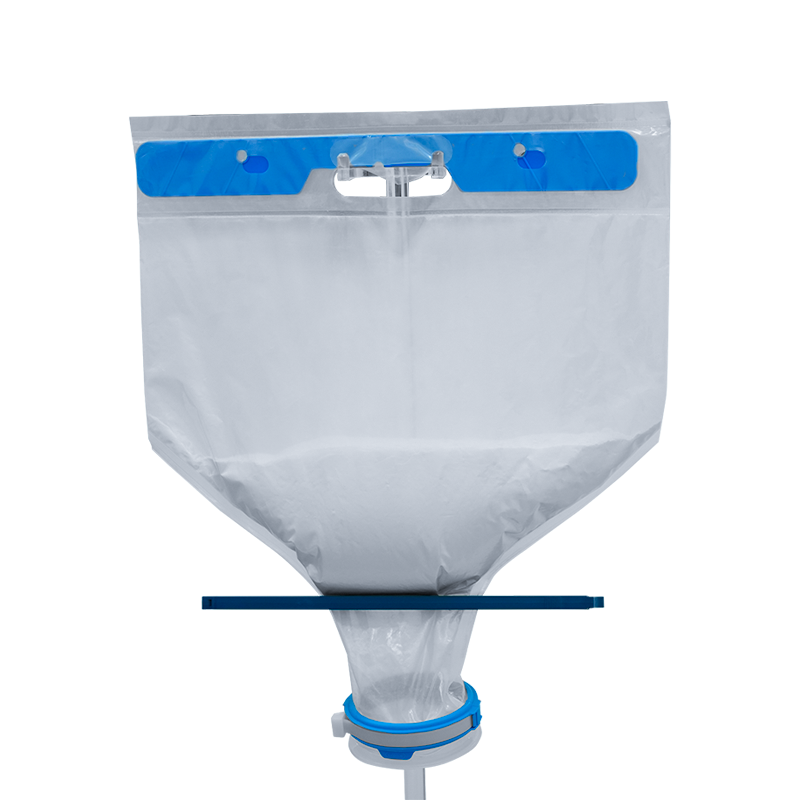
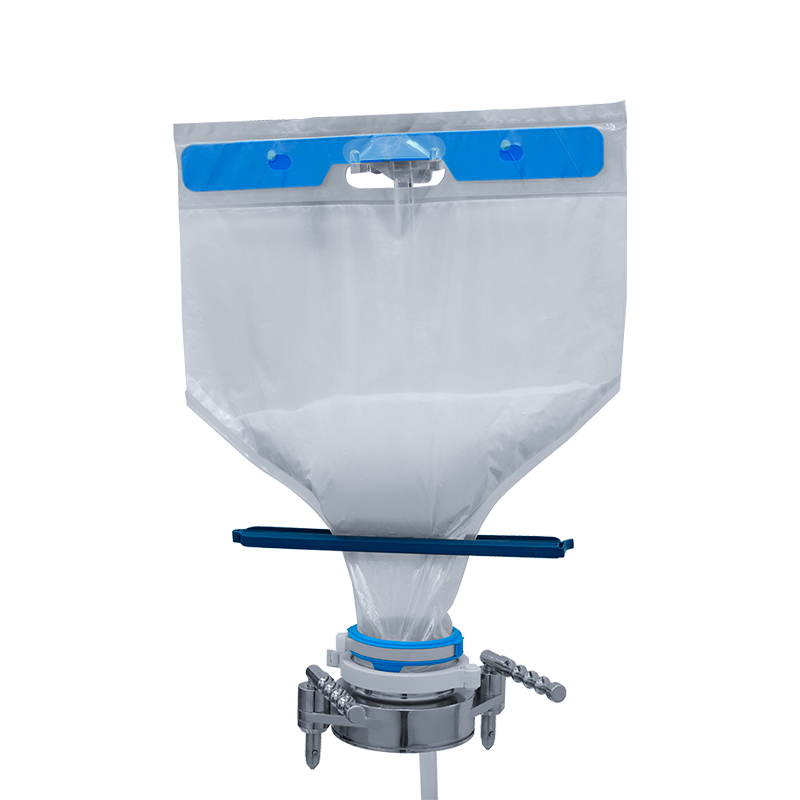
For single-use processes, pre-sterilised powder transfer bags perform the same function with a disposable fluid path. The bag is docked, filled and sealed, then separated from the process. The design detail that matters most is the docking sequence: it should be difficult to do in the wrong order.
Designing the Sampling Point Into the Process
The sequence below is the one we would suggest walking through with the process engineers, quality unit and operators in the same room. Getting agreement at each step is worth more than any single component choice.
- Define what the sample must prove. Identity, potency, bioburden, particulates and sterility tests each place different demands on volume, timing and container.
- Choose the location so that the sample represents the bulk after a defined mixing or recirculation step, not before it.
- Fix the geometry: short branches, no unflushed pockets, full drainability, and a valve seat that can be cleaned and sterilised with the line.
- Decide the sterile boundary strategy: SIP, CIP, single-use fluid path, or a protected-face transfer interface.
- Write the operator sequence as a numbered instruction and test it with people who have not designed it.
- Build the documentation trail: sample identifier, batch, point, time, operator, and the training record behind the signature.
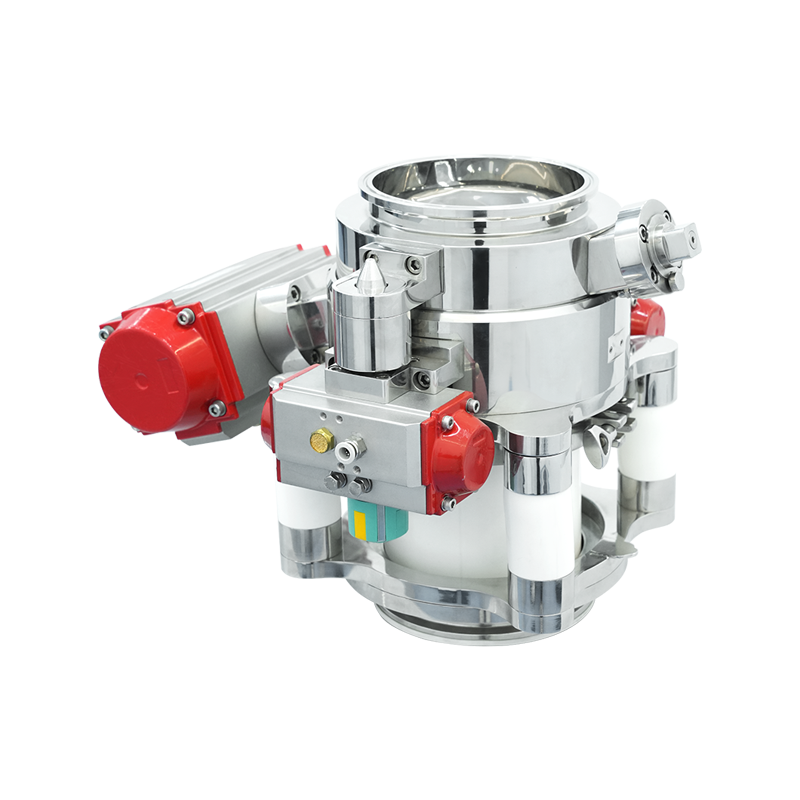
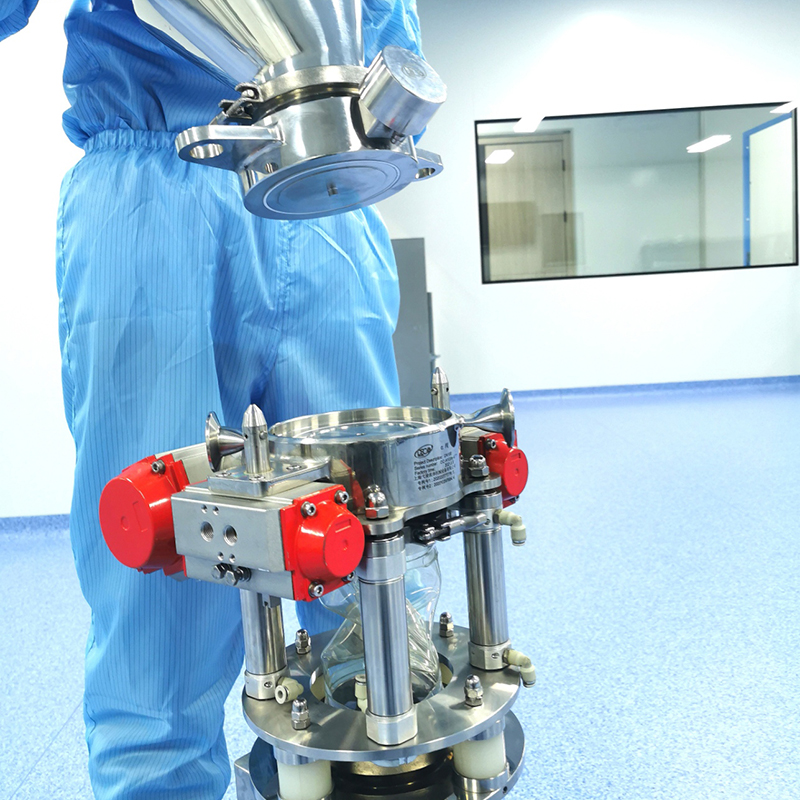 Aseptic Split Butterfly Valve for High-Containment Powder TransferSupports closed transfer of APIs and sterile powders up to OEB5, with embedded valve plate, low torque, and docking compensation for containment.View Product →
Steps three to five are where most projects discover that the sampling point they drew on the P&ID cannot be operated by a gloved hand in a restricted access barrier system. Finding that out on a drawing is considerably cheaper than finding it out during a media fill.
Validation, Documentation and Operator Confidence
A sampling system needs to be validated as part of the process, not as an isolated accessory. Typical evidence includes hold-time studies for the sample itself, sterility assurance for the interface, cleaning validation for internal surfaces, and container closure integrity for the sample container. Where the interface is reused, the number of cycles between maintenance events should be justified rather than assumed.
Operator confidence deserves more attention than it usually receives. A system that requires the operator to remember a sequence under time pressure is a system with a latent deviation built in. Protective covers, keyed fittings, clear Alpha and Beta identification and unambiguous open and closed positions all reduce the cognitive load at the critical moment. Training then reinforces a physical reality rather than compensating for a poor one.
Choosing an Interface You Can Live With
Because the sampling point sits at the intersection of product quality and daily operations, it is worth involving a supplier who has already built these interfaces for aseptic production rather than treating the sampling valve as a catalogue item. The useful conversation is about the sequence, the containment level, the cleaning route and the documentation package, and it tends to surface small details that change the specification.
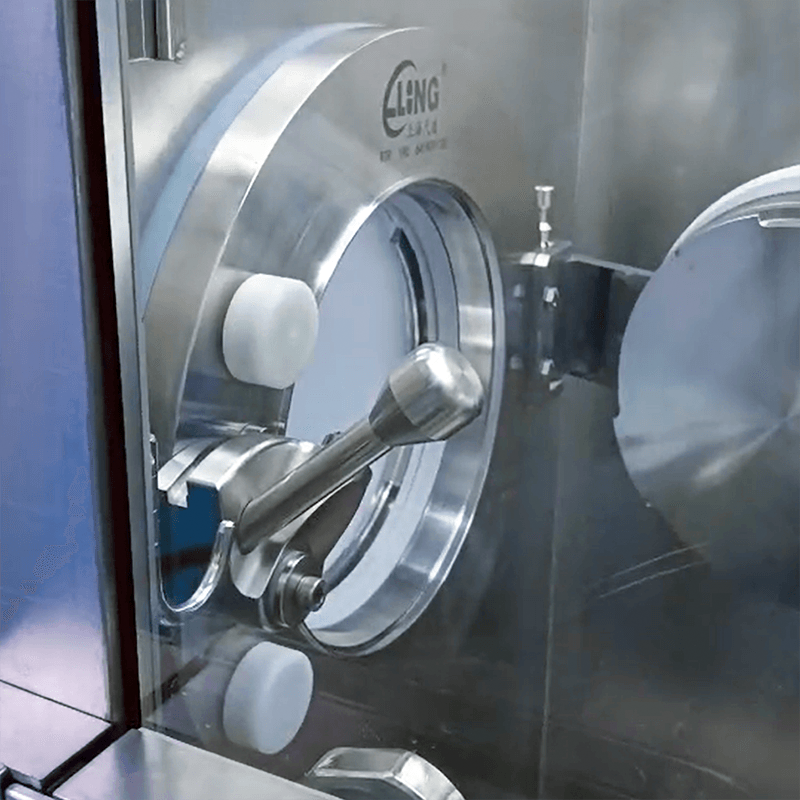 RTP Valve for Sealed Aseptic TransferAlpha/Beta rapid transfer port valve enables sealed two-way movement between isolators, RABS, cleanrooms, and containers while protecting sterile or hazardous materials.View Product →
ELING has spent more than a decade supplying aseptic transfer and containment components to pharmaceutical manufacturers, and much of that experience sits in exactly this kind of detail: how a Beta cover is handled, how a valve face is protected between connections, and how a sampling container is docked without relying on the operator's memory. If you are reviewing an existing sampling point or designing a new one, the broader range of containment systems and aseptic transfer processes is a reasonable place to see how the individual components fit together.
An aseptic sampling system succeeds when the sterile boundary, the container and the operator sequence are designed as one thing. Start from what the sample must prove, keep the geometry short and drainable, make the interface hard to misuse, and document the sequence so that a new operator can follow it at three in the morning. Do that, and the sample becomes evidence rather than an act of faith.